Roamable Support
Get Started with a Roamable eSIM
Tips
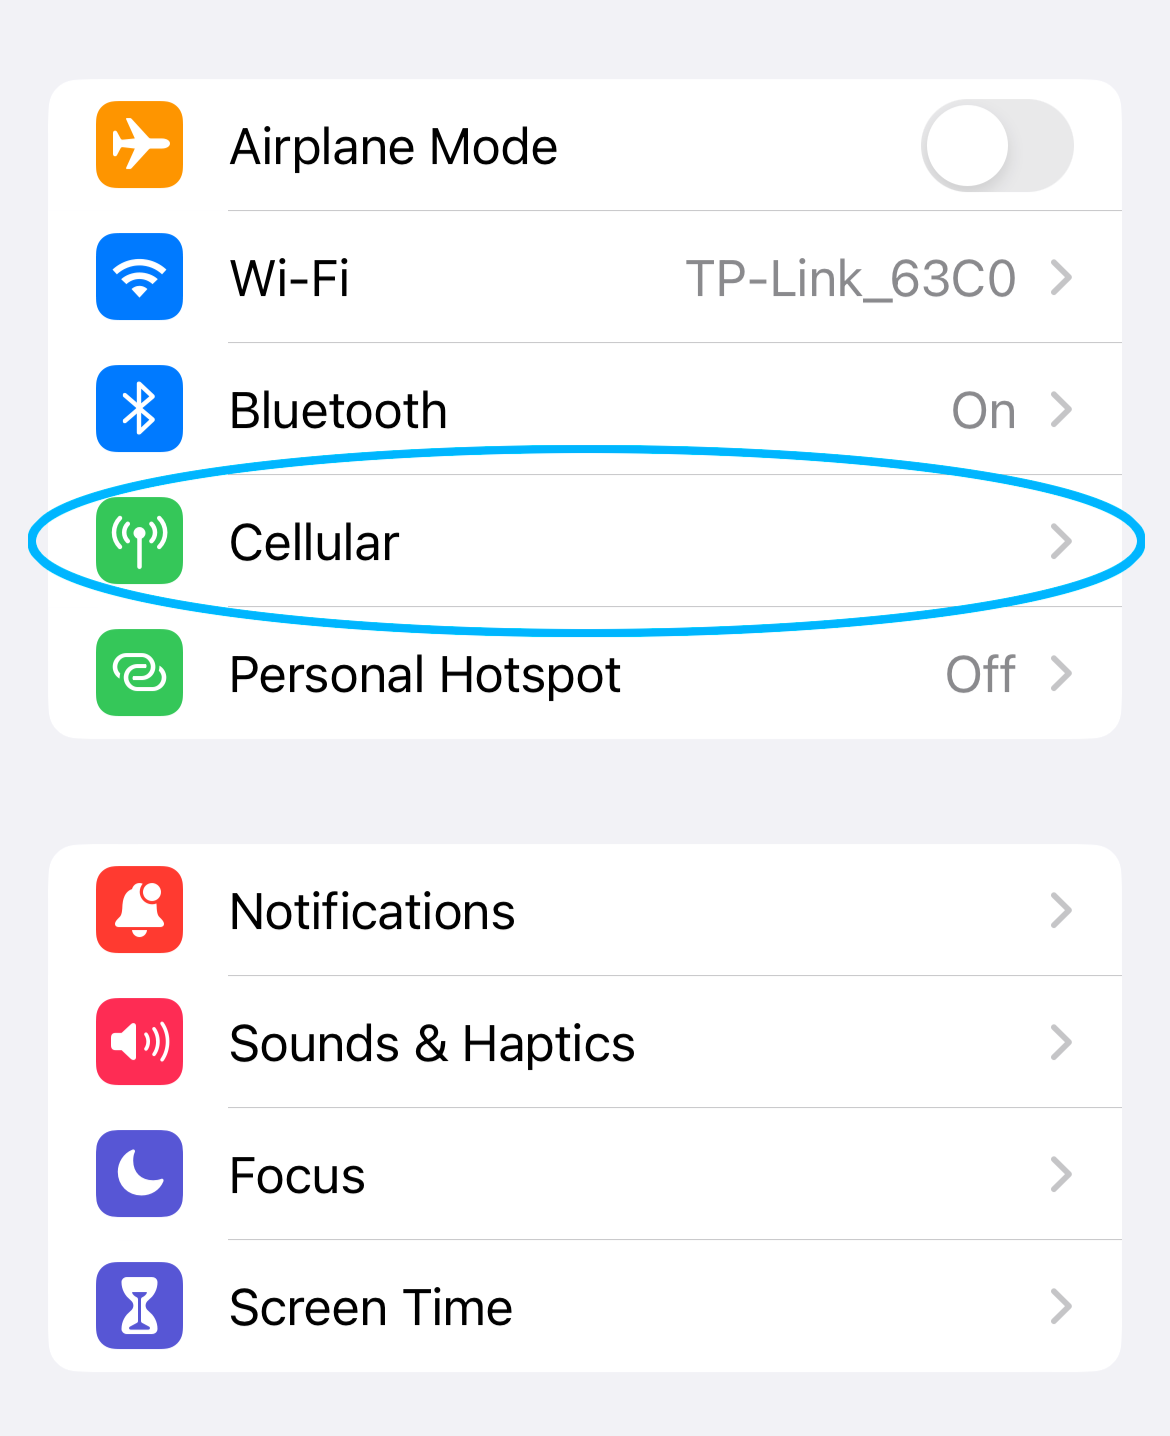
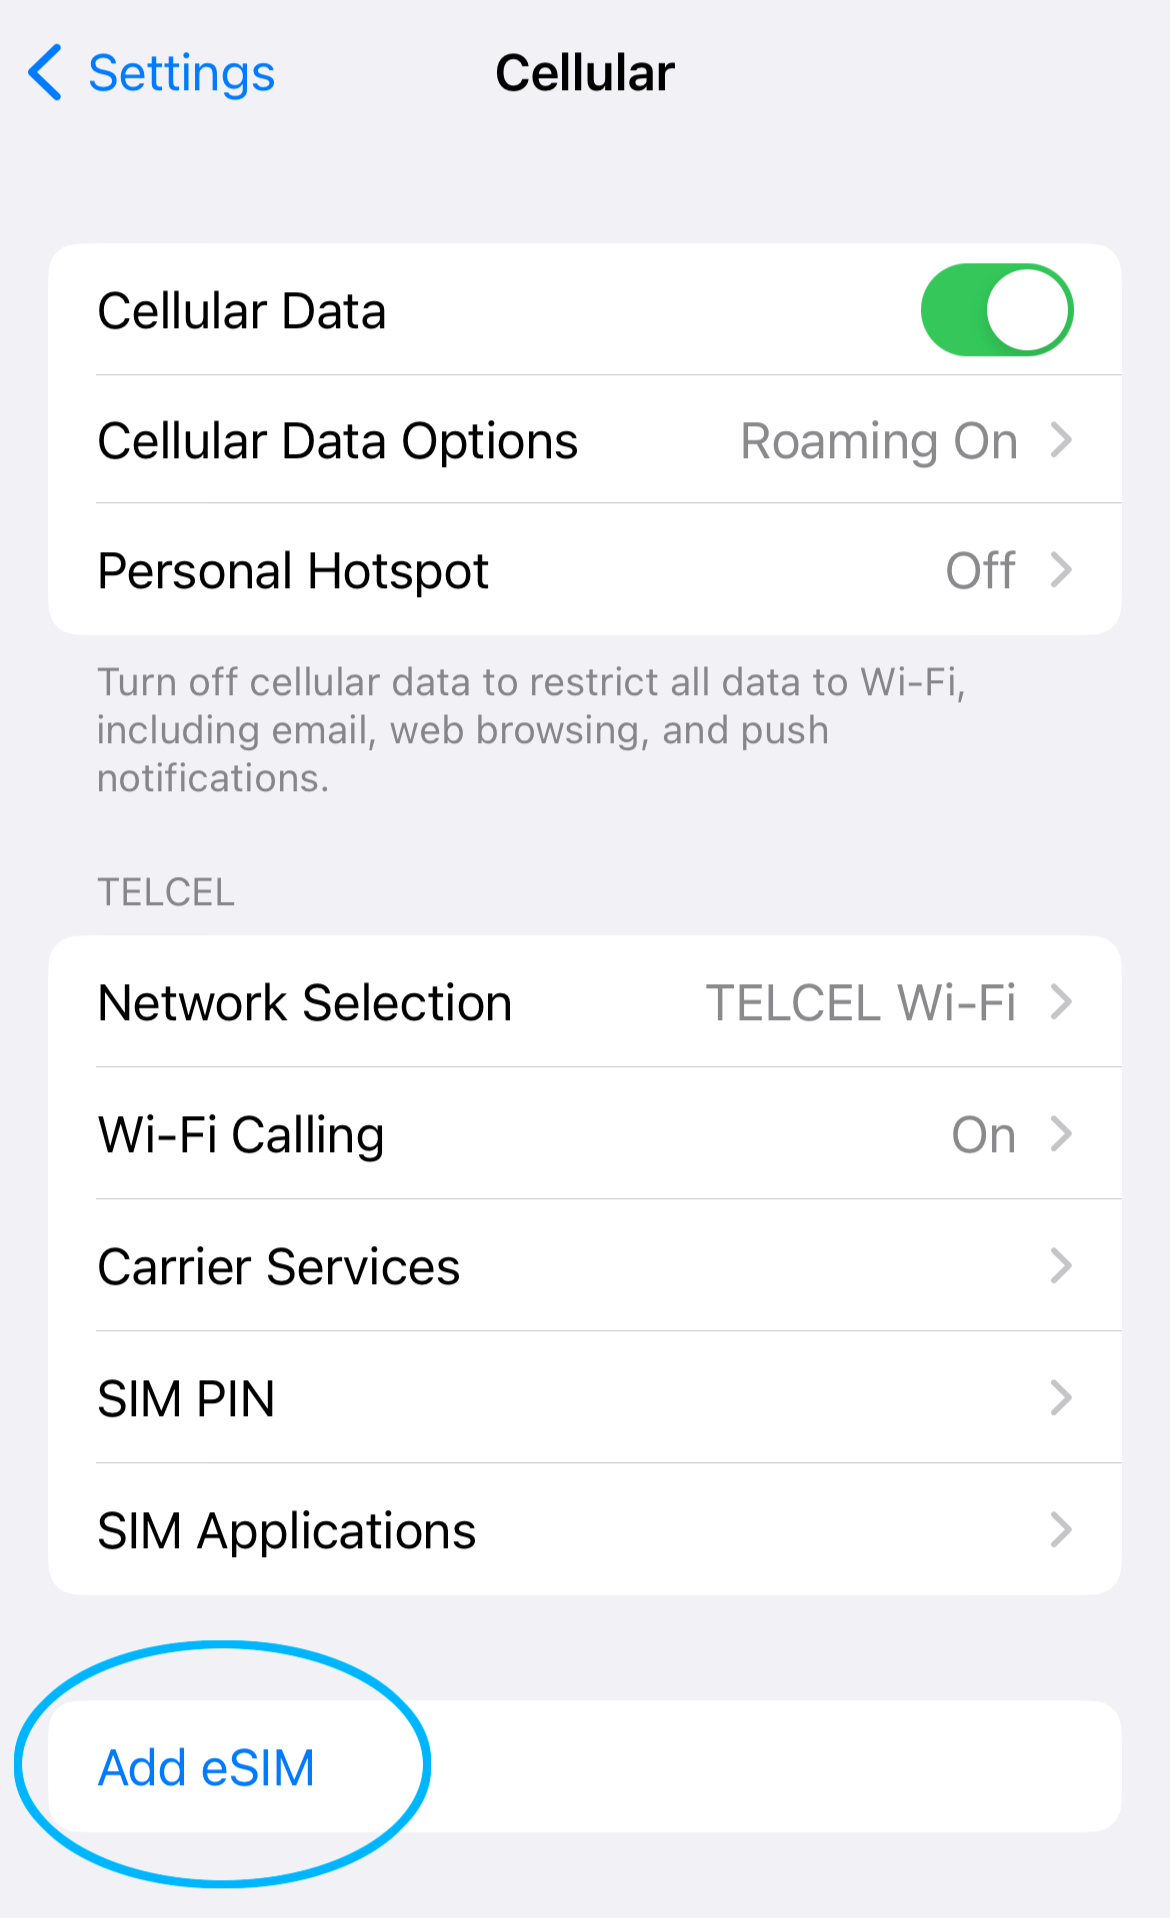
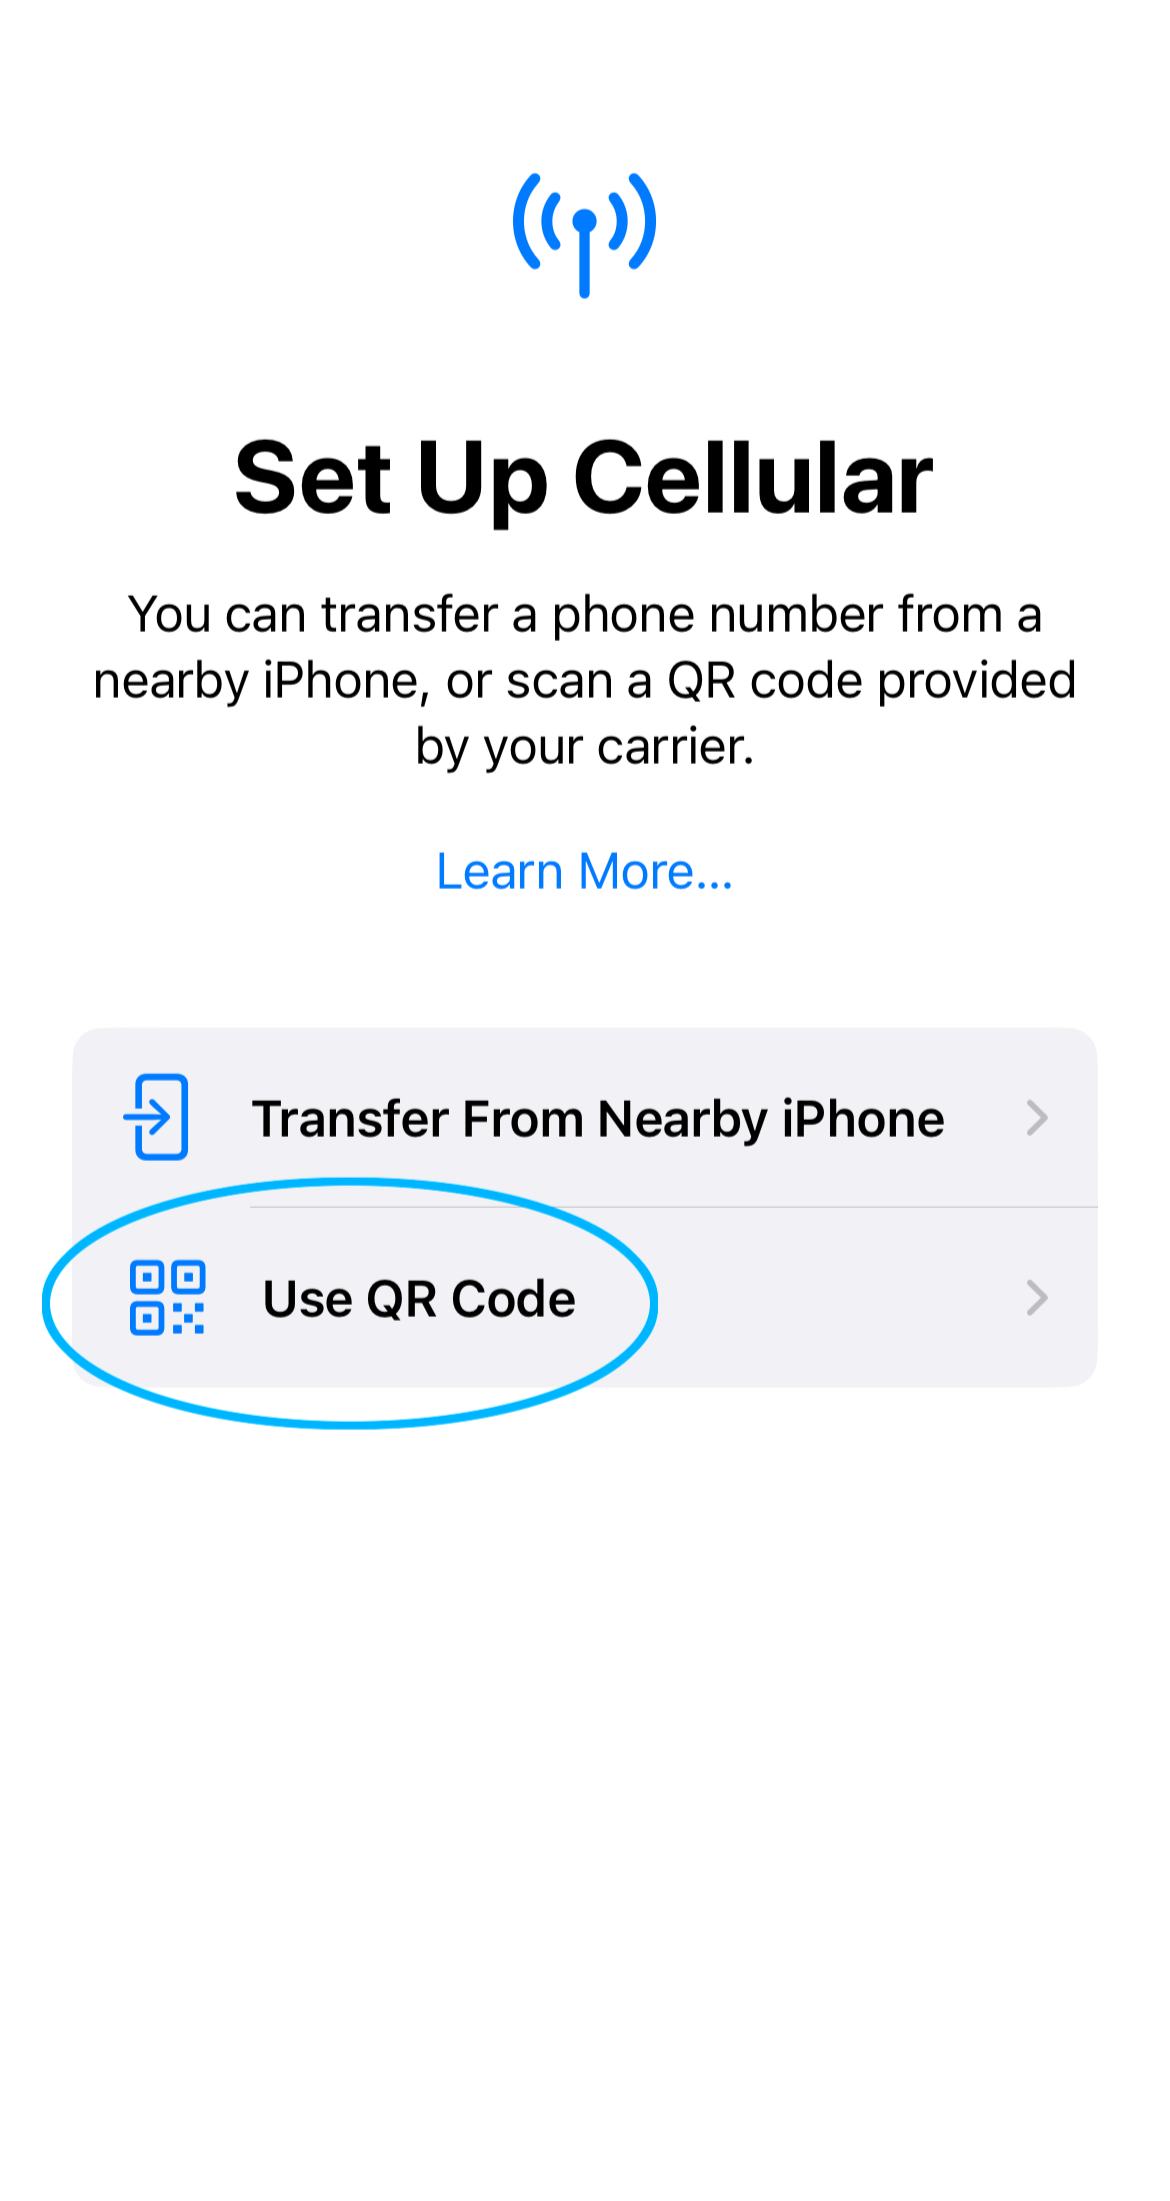
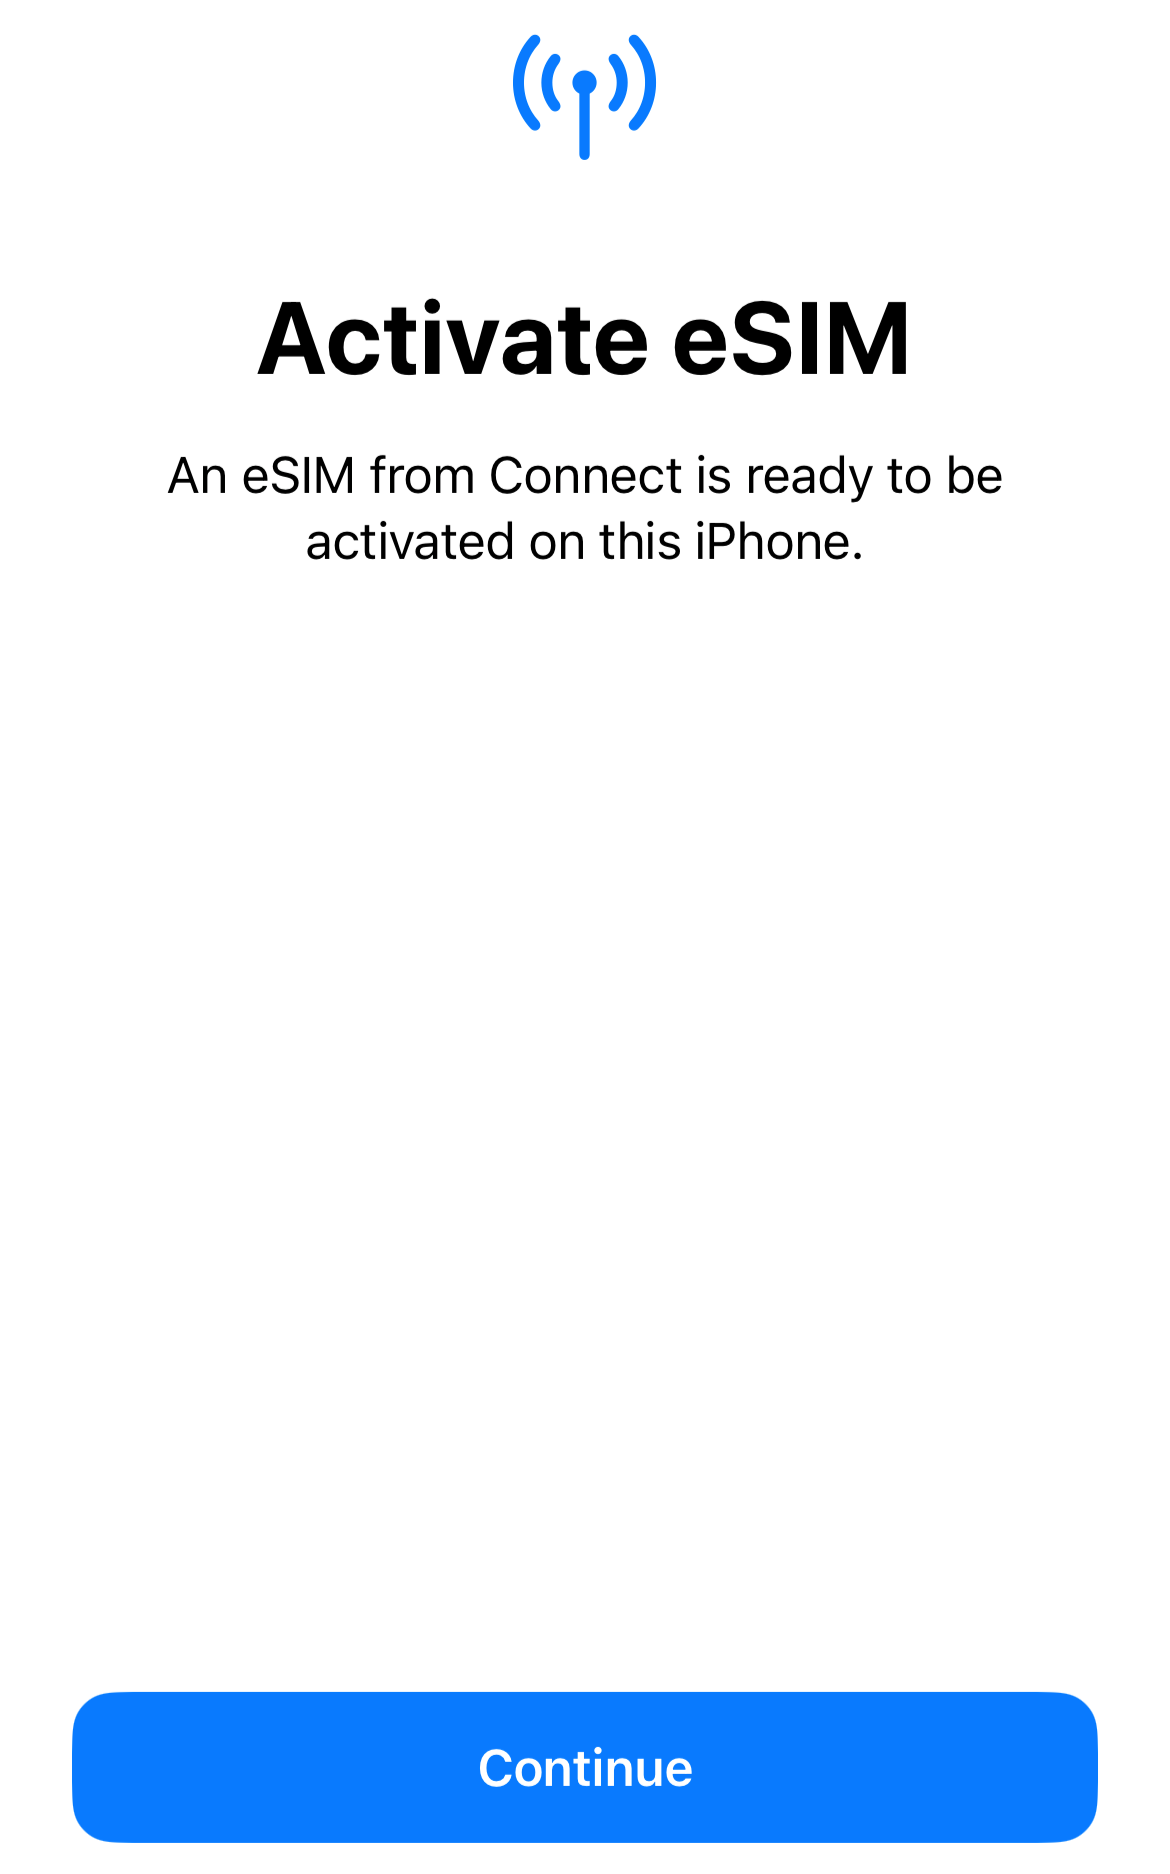
1. Add eSIM
2. Label Your eSIM
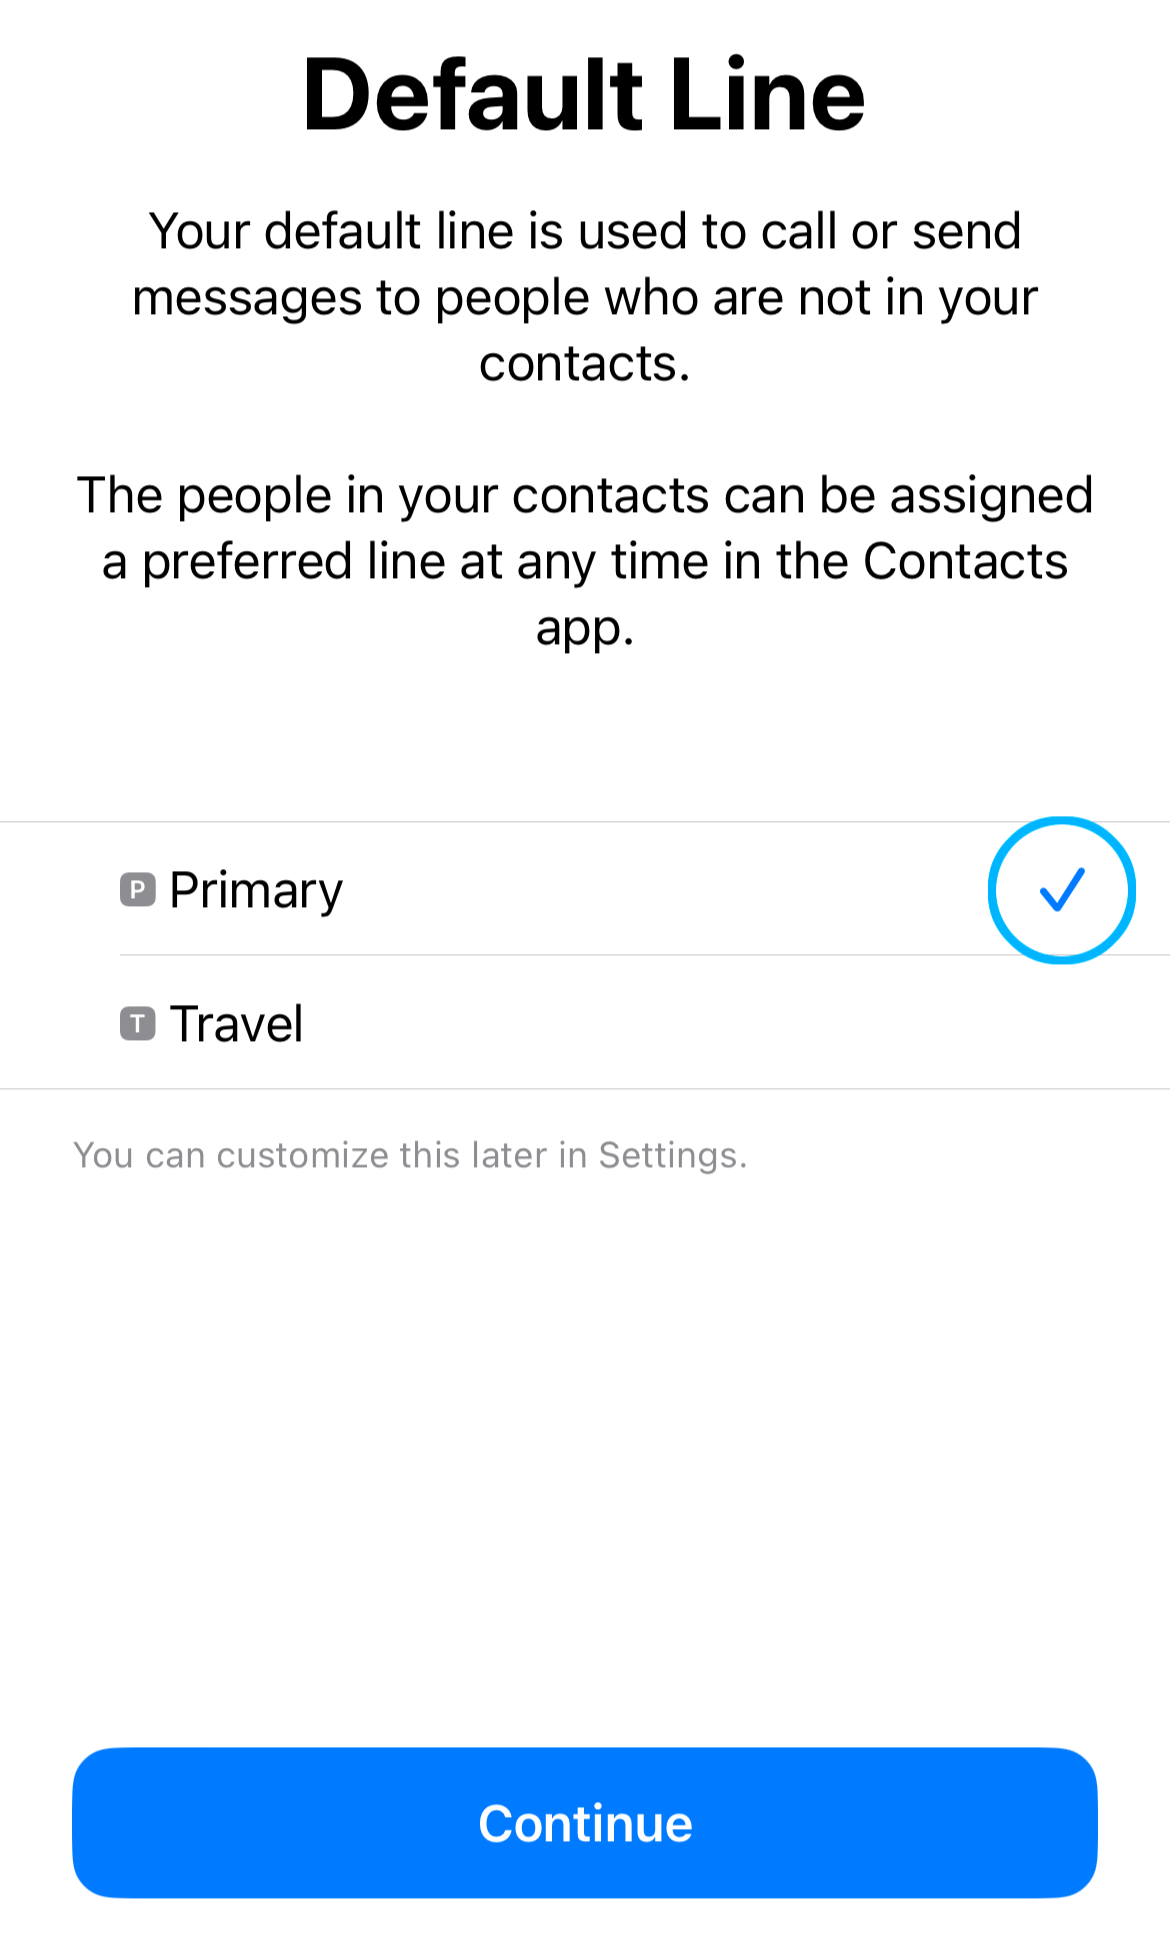
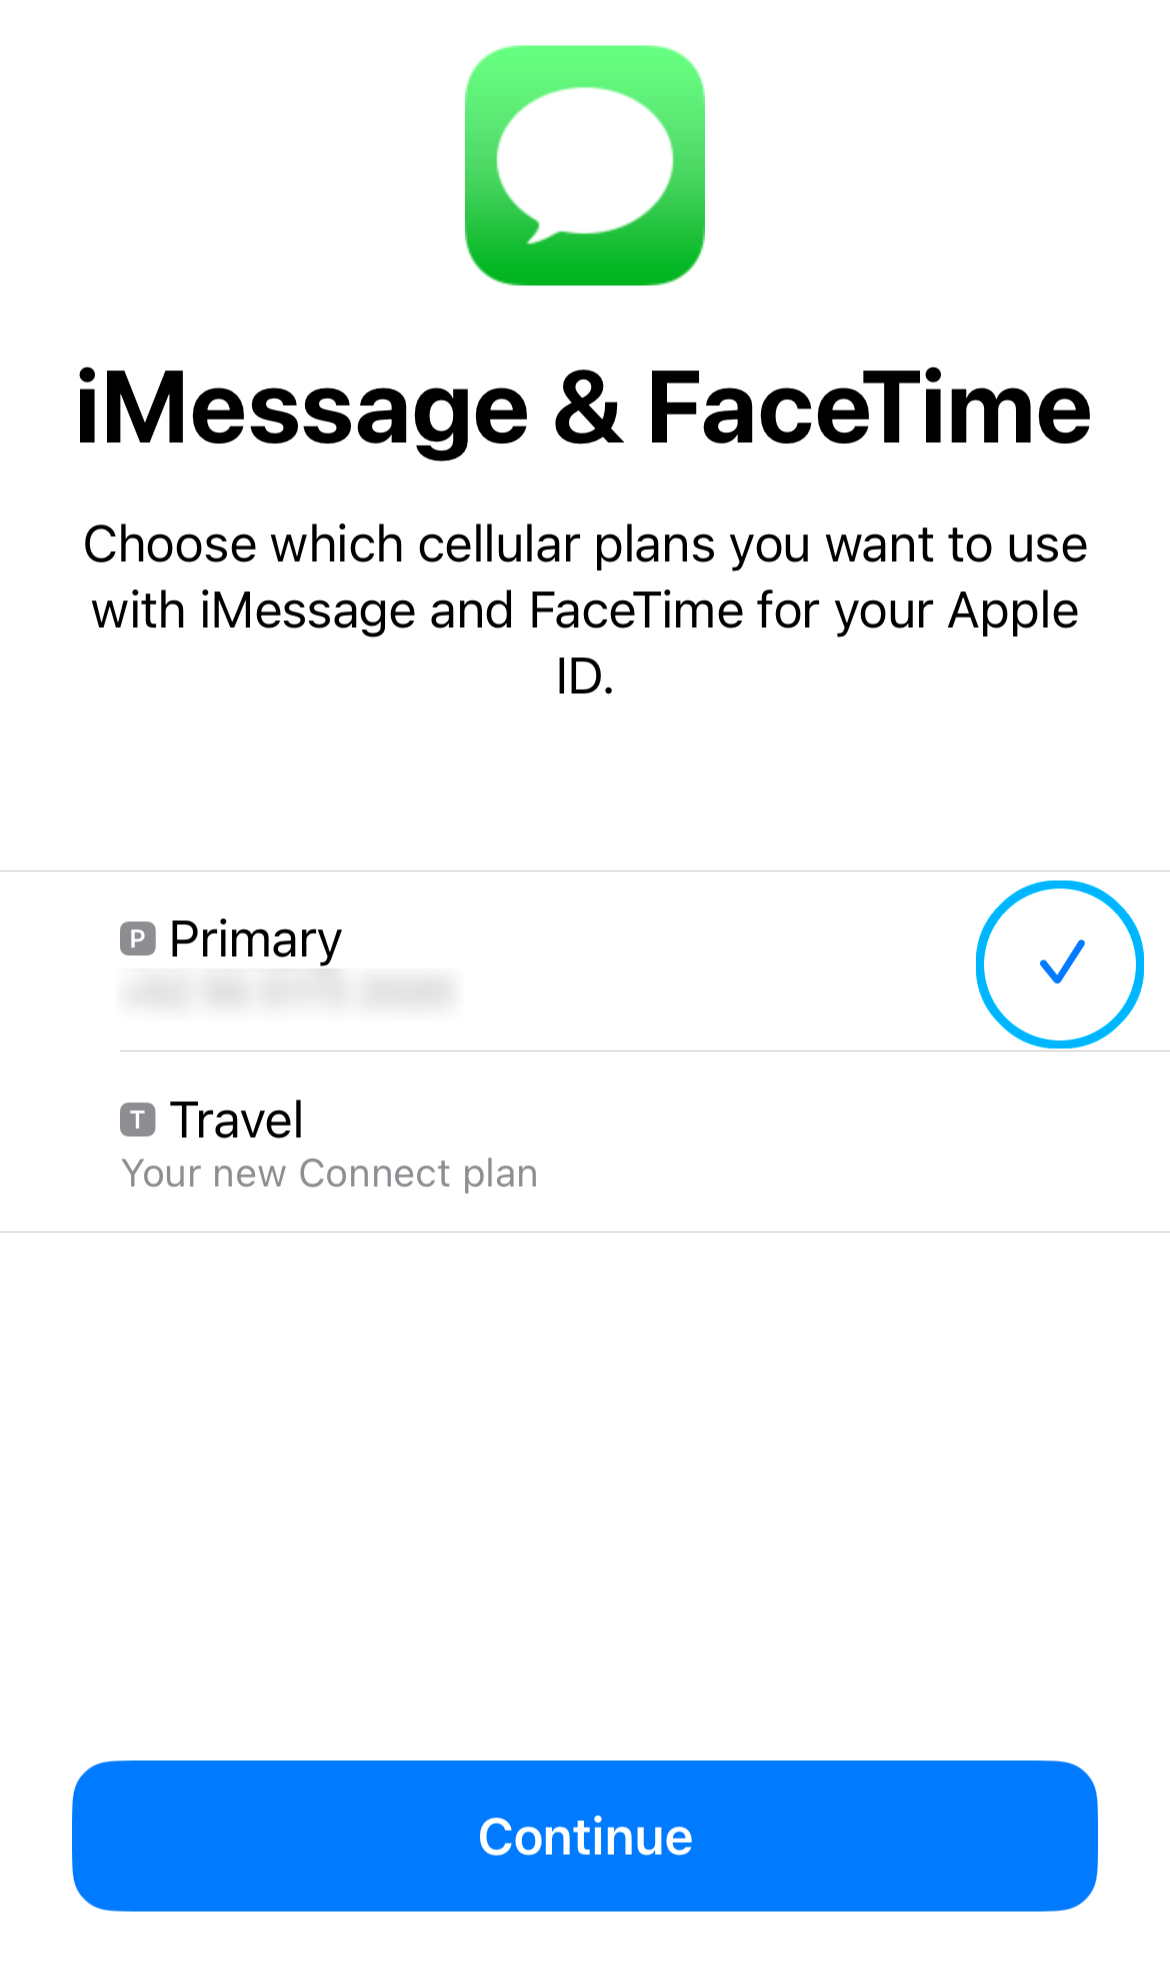
3. Choose Default Lines
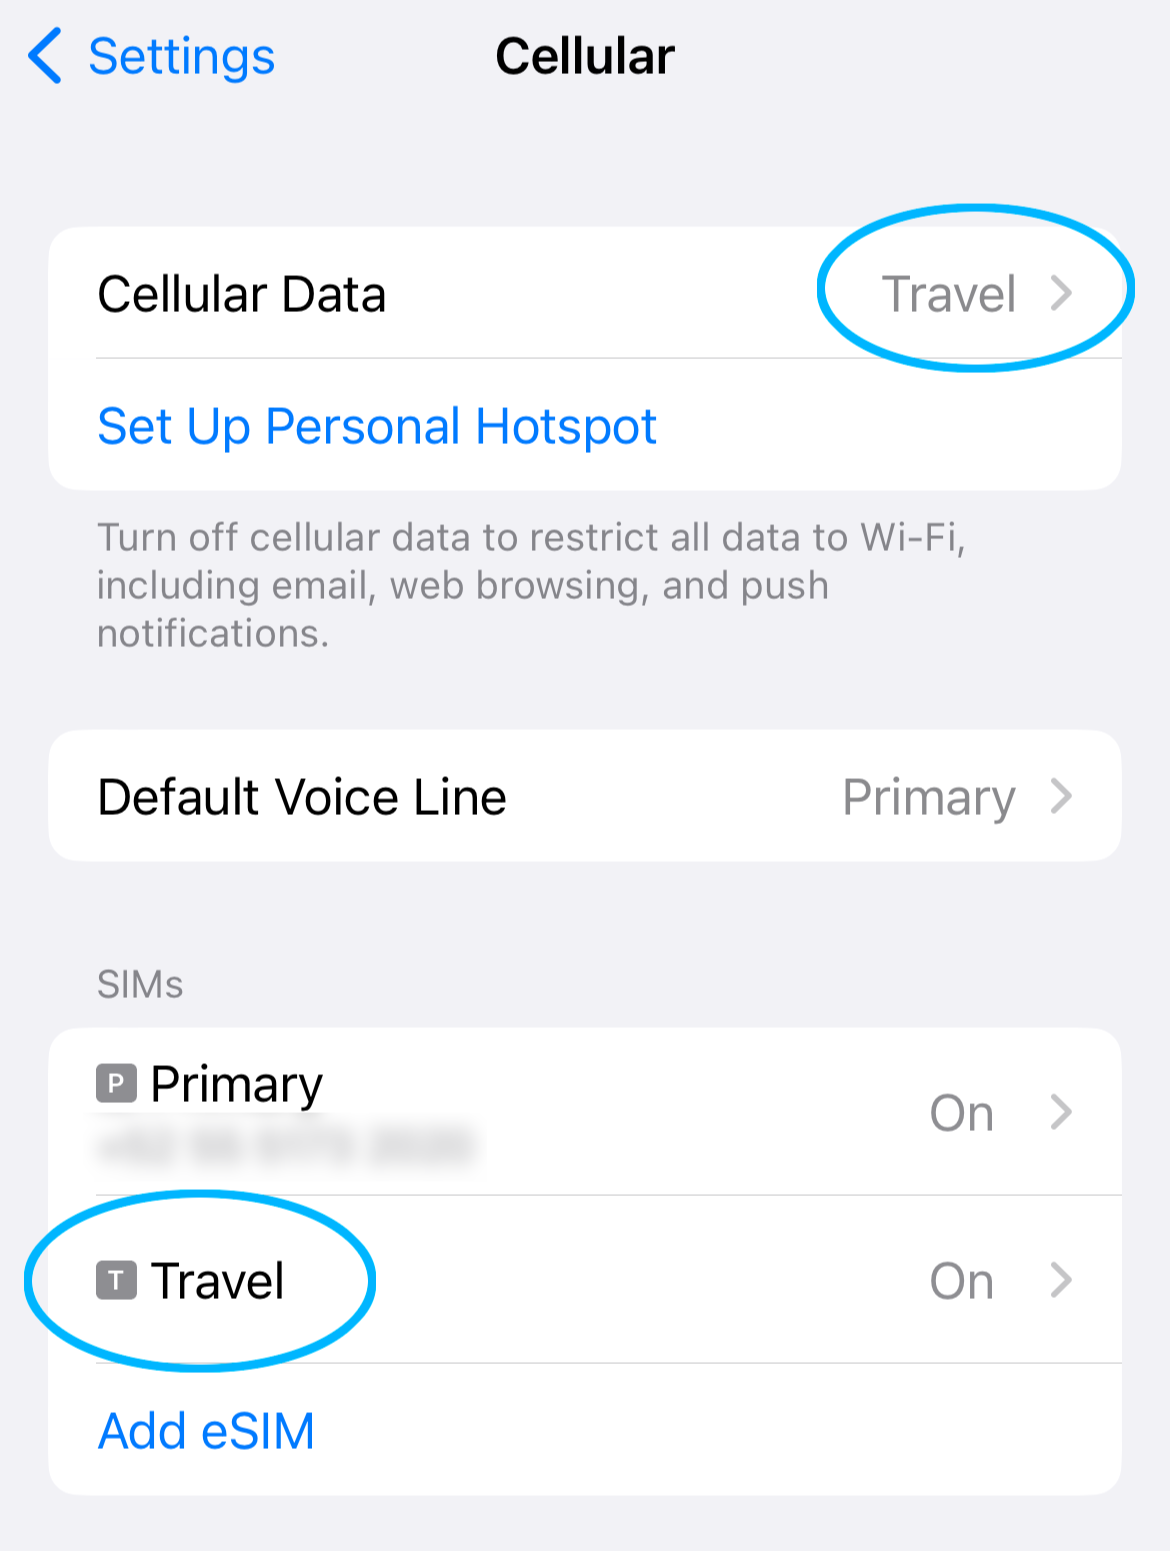
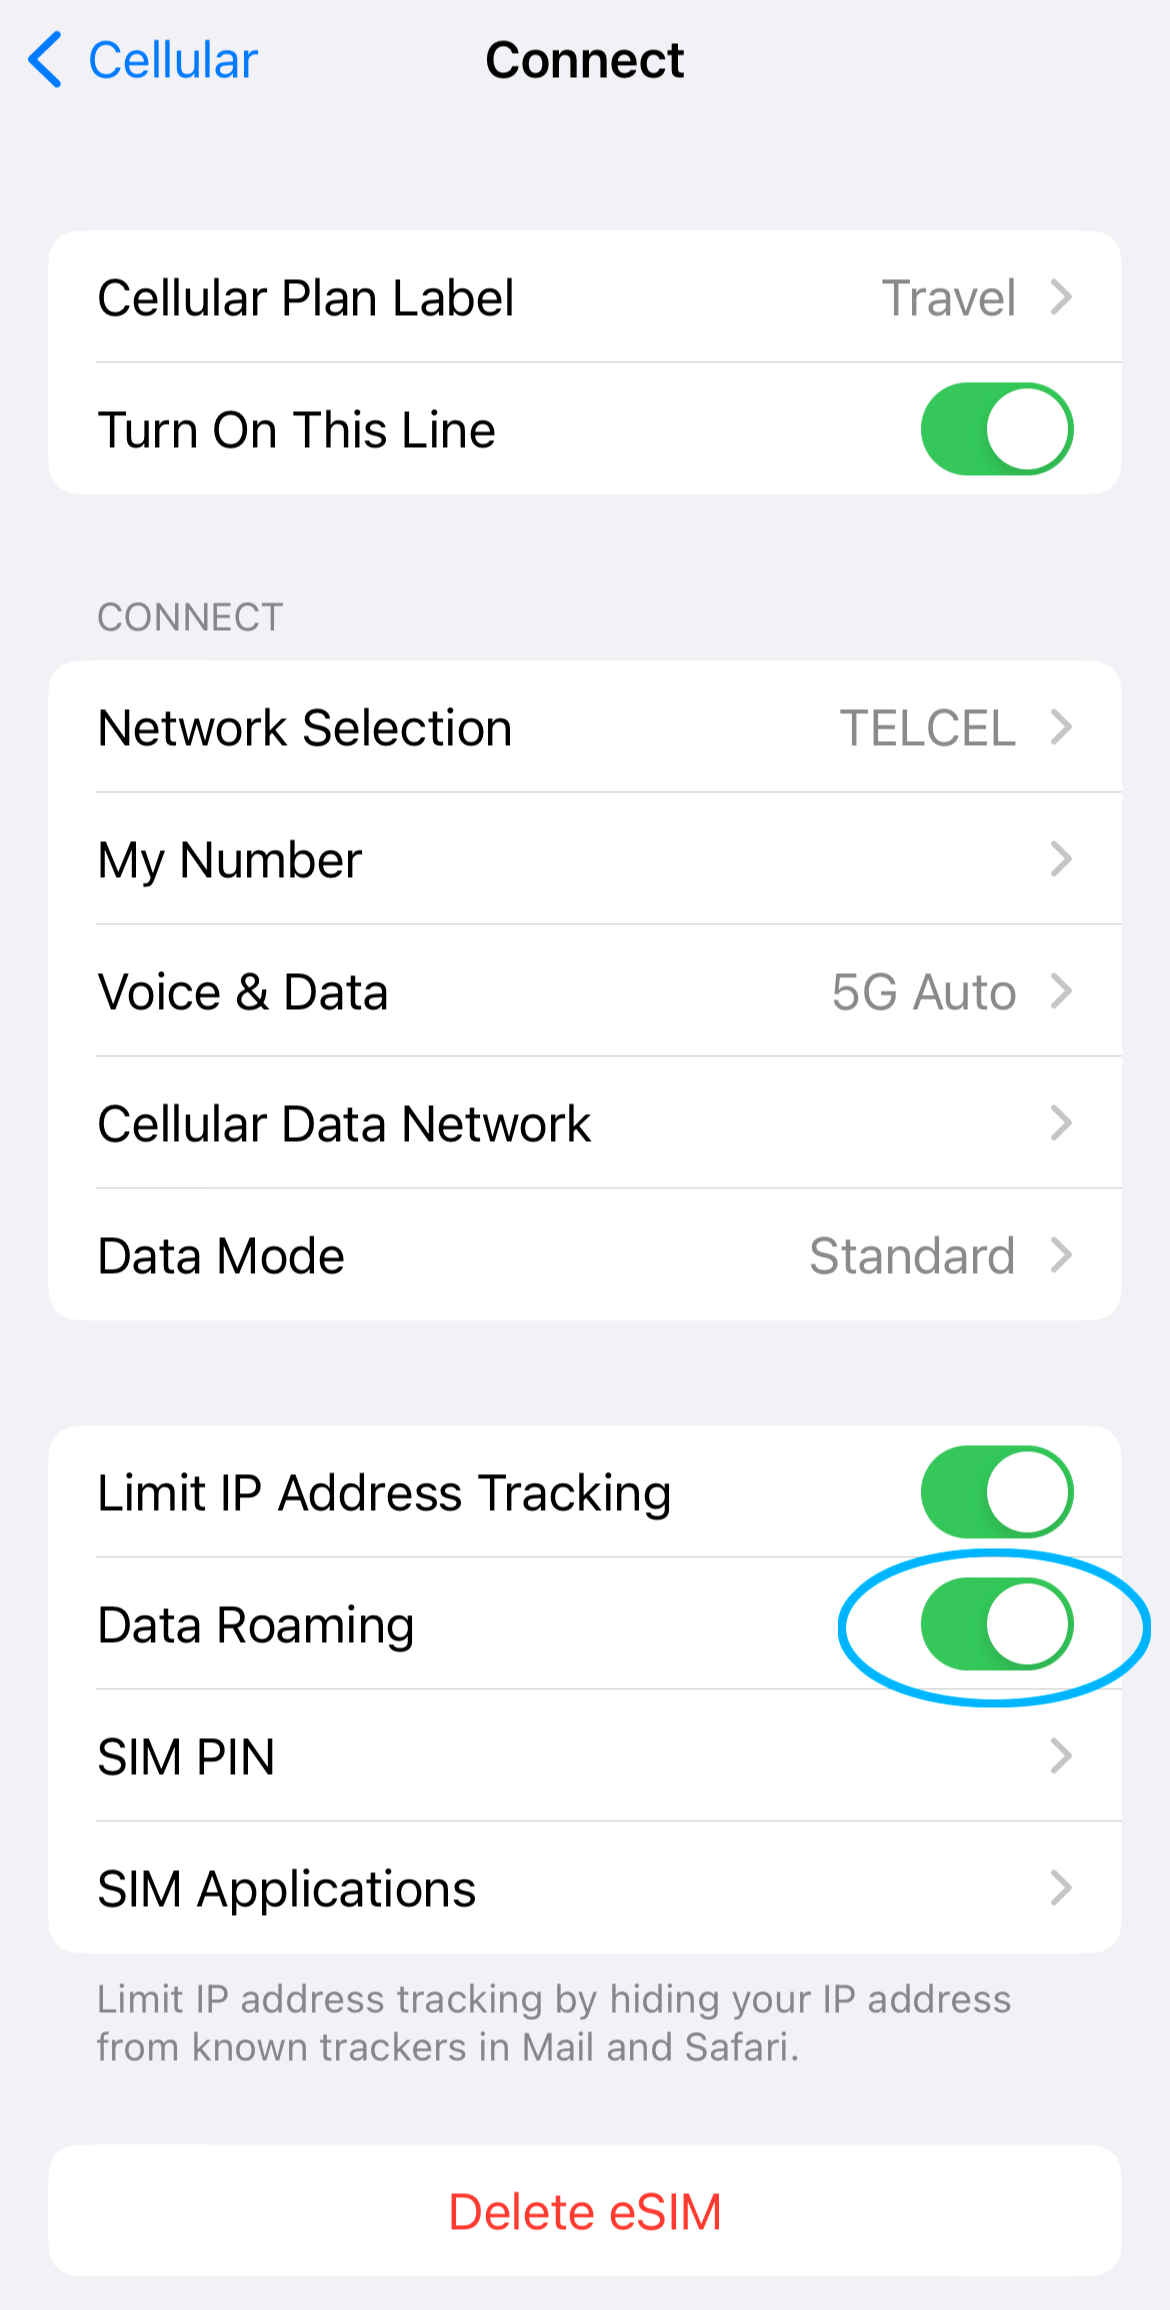
4. Enable Data Roaming
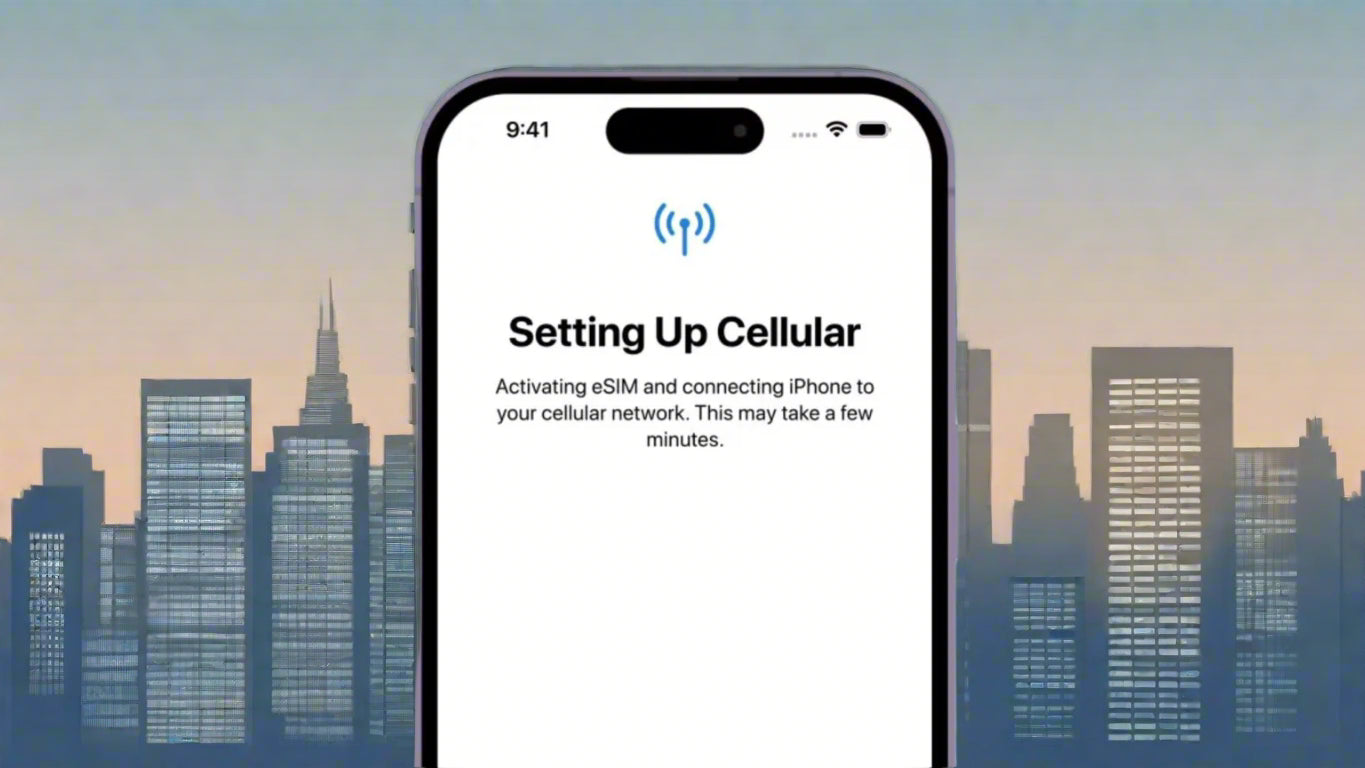
Connecting to the Internet
Need Help? Contact Us Today.
(include your order # in the comment box)


(include your order # in the comment box)